
Chill on Park’s Guide to Halloween DIY
Bats and ghosts and witches, oh my! Halloween is all about the scary visuals. What better way to get in the Halloween spirit than to get crafty? We’ve gathered some easy DIY projects to spook things up while also having fun.
Toilet Paper Roll Bat
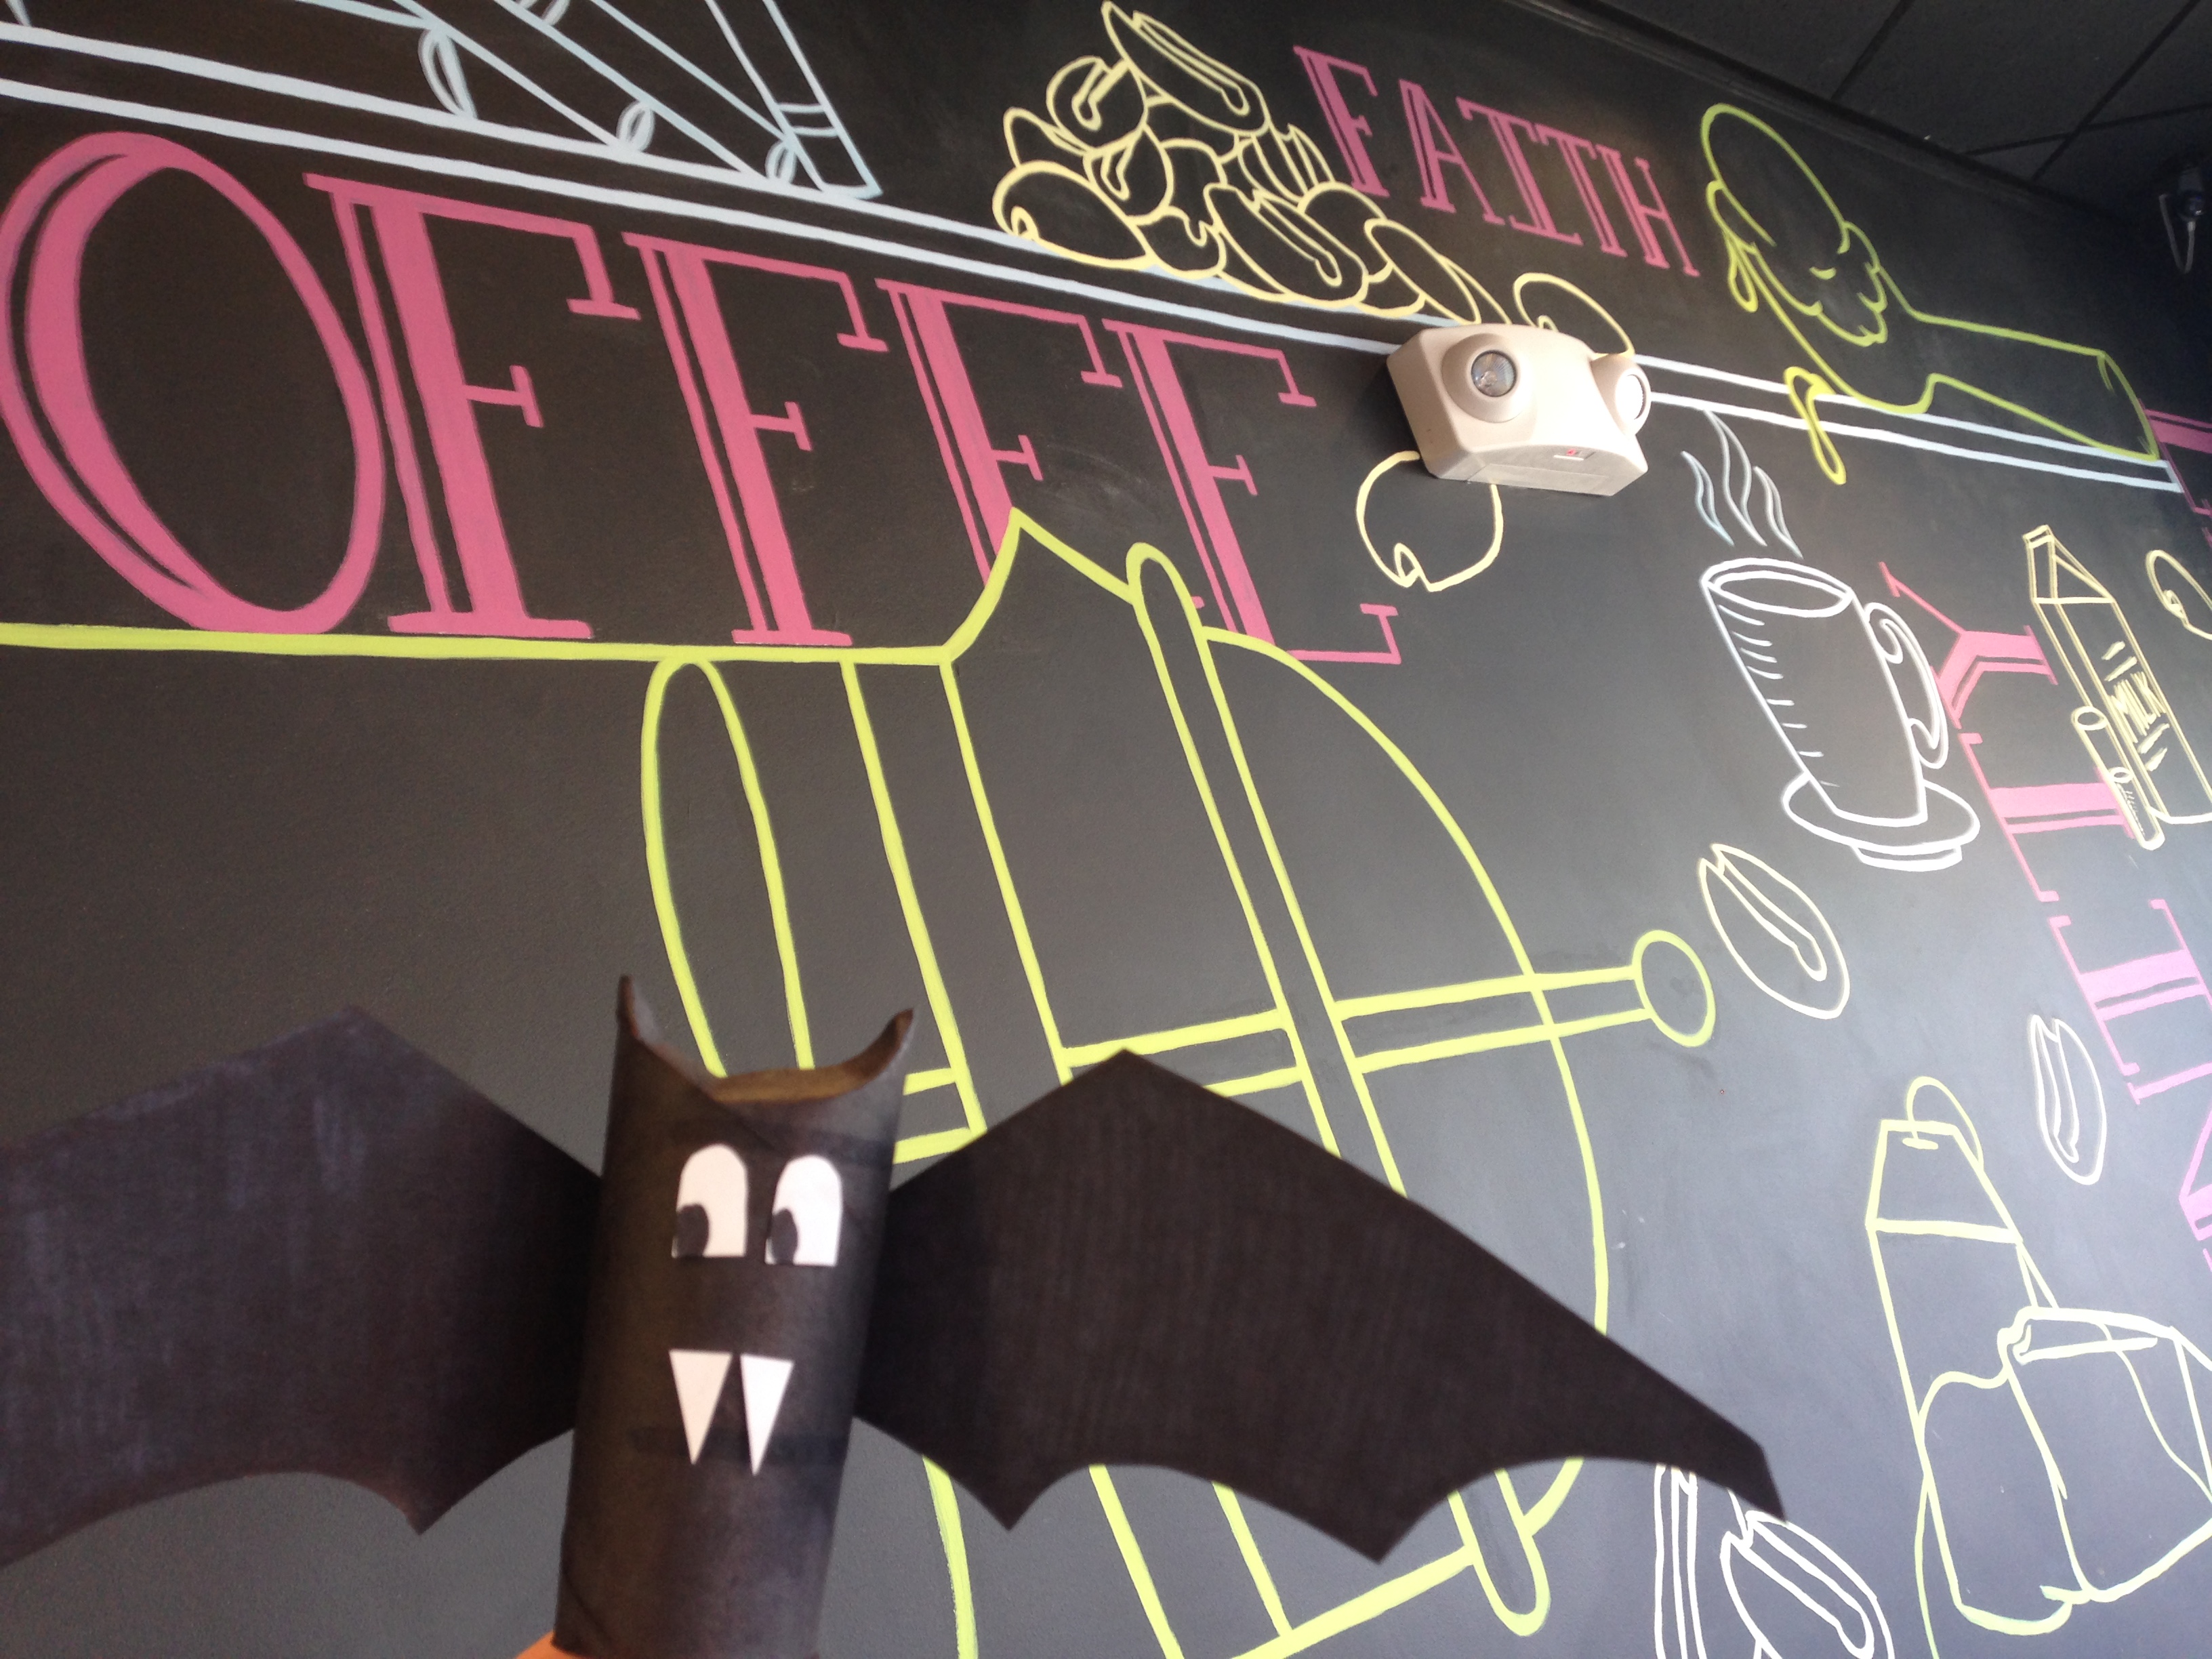
The bat has long been associated with vampires, witches, and of course Halloween. These haunting creatures are best known for their nocturnal nature and blood-sucking myths. Contrary to popular belief, bats are not actually blind. Try making this toilet paper roll bat in five simple steps, inspired by this—it’ll surely give your space an eerie feel!
Materials:
empty toilet paper rolls, black craft paint (a black marker works the same), a paint brush if using paint, black construction paper or black markers and computer paper, glue stick, kid-safe glue, or tape, scissors, googly eyes or white paper.
Directions:
- Paint or color the toilet paper roll completely black, then set aside to dry. This is going to be the body of the bat.
- While the body dries, draw two wings on the black construction paper and cut them out.
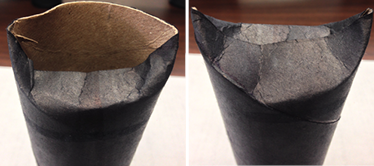
- When the body is completely dry, stand the tube up and fold the top of one side down to create pointy ears. Crease the folds so they stay (see picture below).
- Glue or tape the paper wings to the back of the body and let dry.
- Glue on googly eyes to the front of the body. If you don’t have googly eyes on-hand, you can cut out two small circles on white or yellow construction paper to glue to the body and draw eyes using markers.
Now your toilet paper roll bat is complete and ready to hang on the wall, ceiling, or by the front door! Looking to up the spook factor? Try cutting out two small triangles and gluing them on your bat as vampire fangs!
Paper Plate Ghosts

BOO! You can’t celebrate Halloween without putting up a few ghost decorations, right? Because of the magic associated with Halloween, people once believed—and some still do—that ghosts could crossover from the spirit world and walk among the living for the night. Chilling, huh? Give this project a try… if you dare.
Materials:
paper plate, white computer paper or construction paper, pencil, white tissue paper (optional), scissors, yarn or string, glue or tape, markers, crayons or other decorating supplies.
Directions:
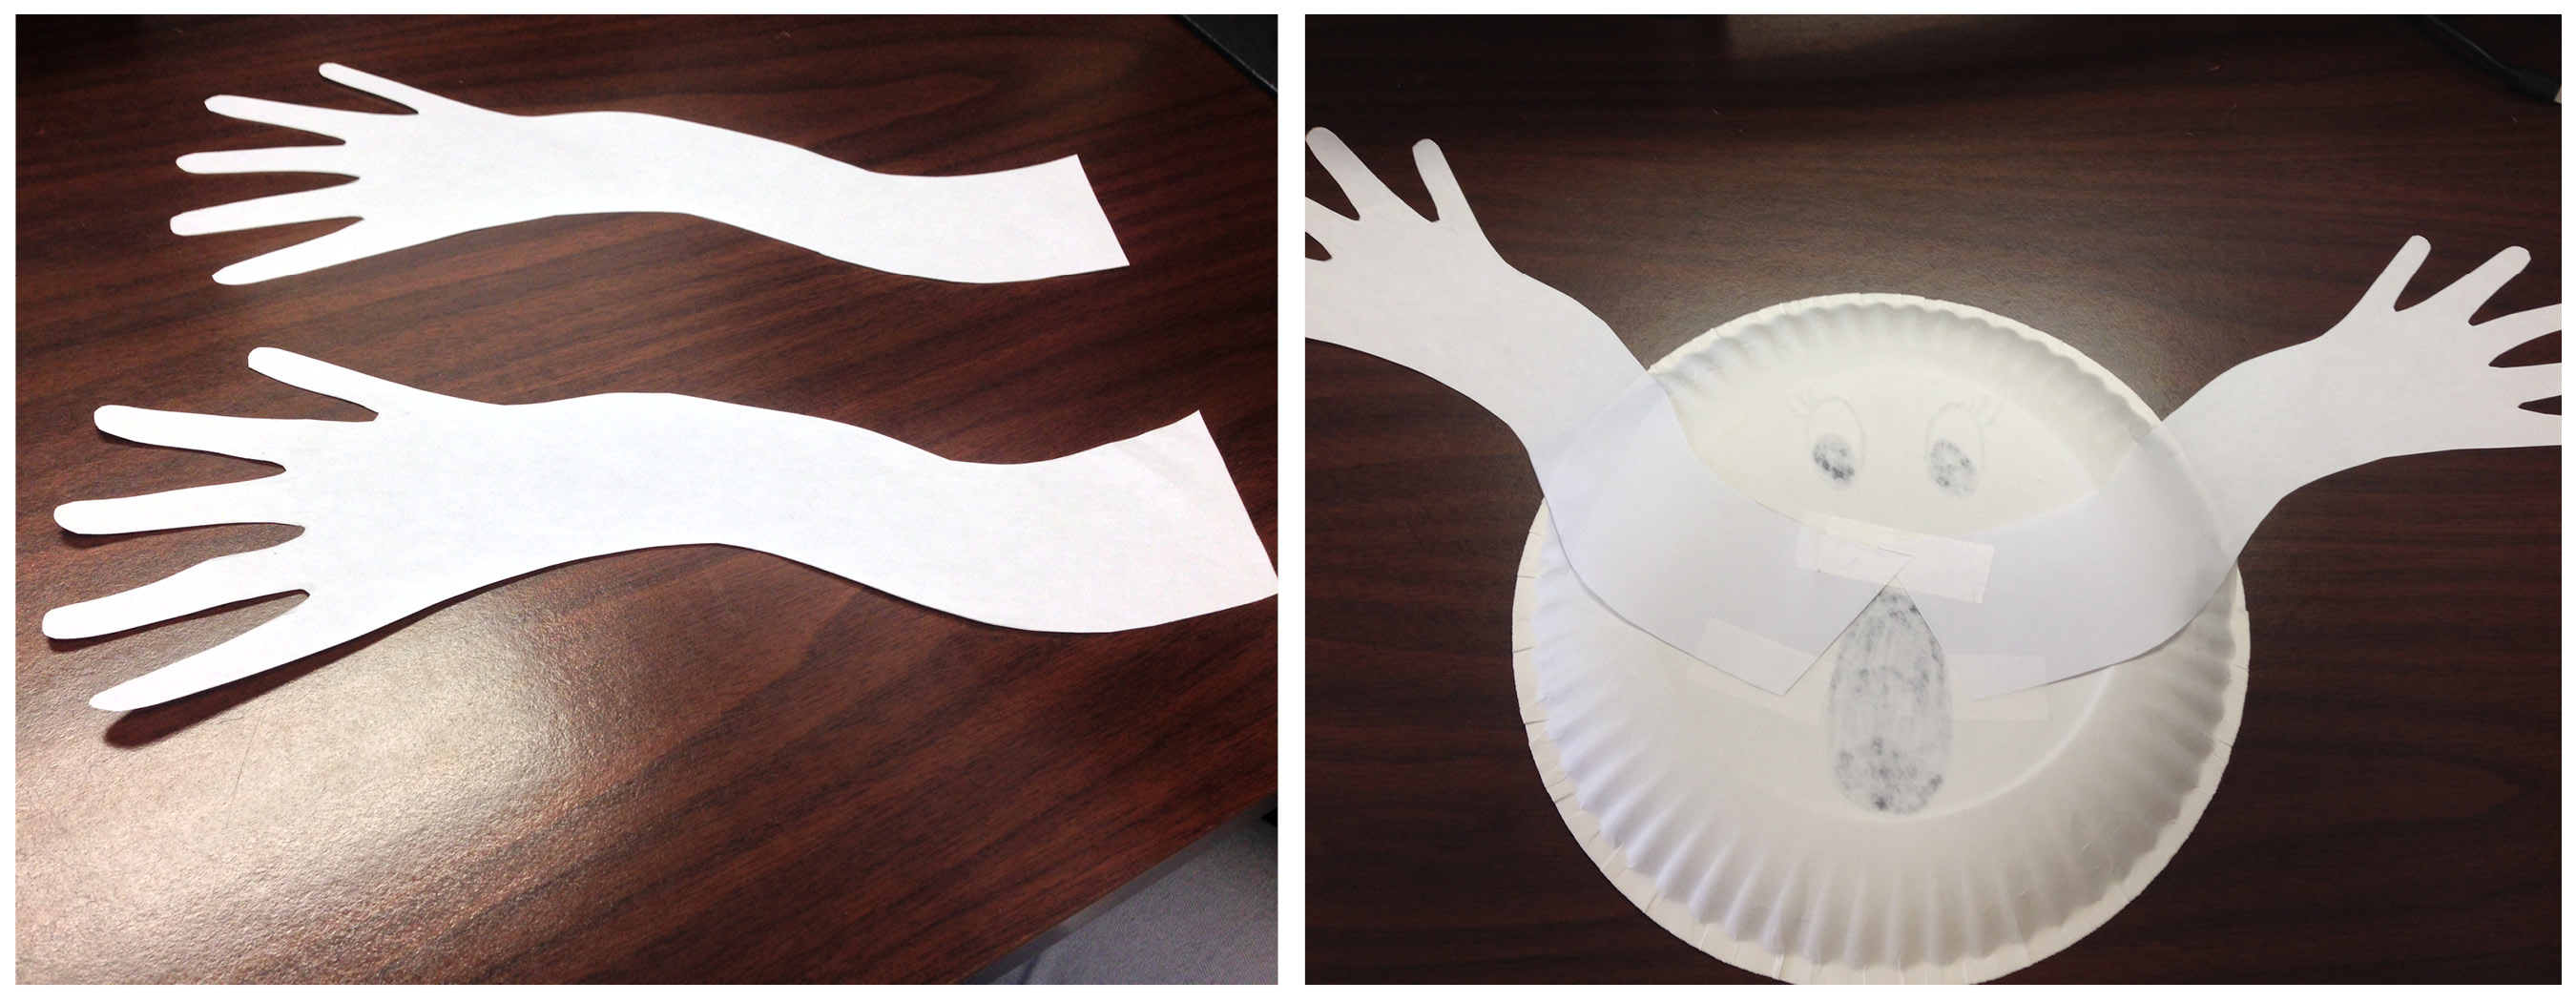
- Place a paper plate in front of you facing up. Using your markers, crayons, or other decorating tools, give your ghost a face—it can be a scary ghost or a friendly ghost, the choice is yours!
- Grab some computer paper or white construction paper. Using a pencil, draw two arms for your ghost and then cut out with scissors.
- Glue or tape your arms to the back of your paper plate. You can make the arms stick out to either side or straight up for more of a frightening look.
- Using either white paper or white tissue paper, cut strips of paper to hang from the bottom of the plate. You can choose any length and width for these strips, but longer, thinner strips will create more movement; we recommend holding the paper horizontally and cutting from left to right.
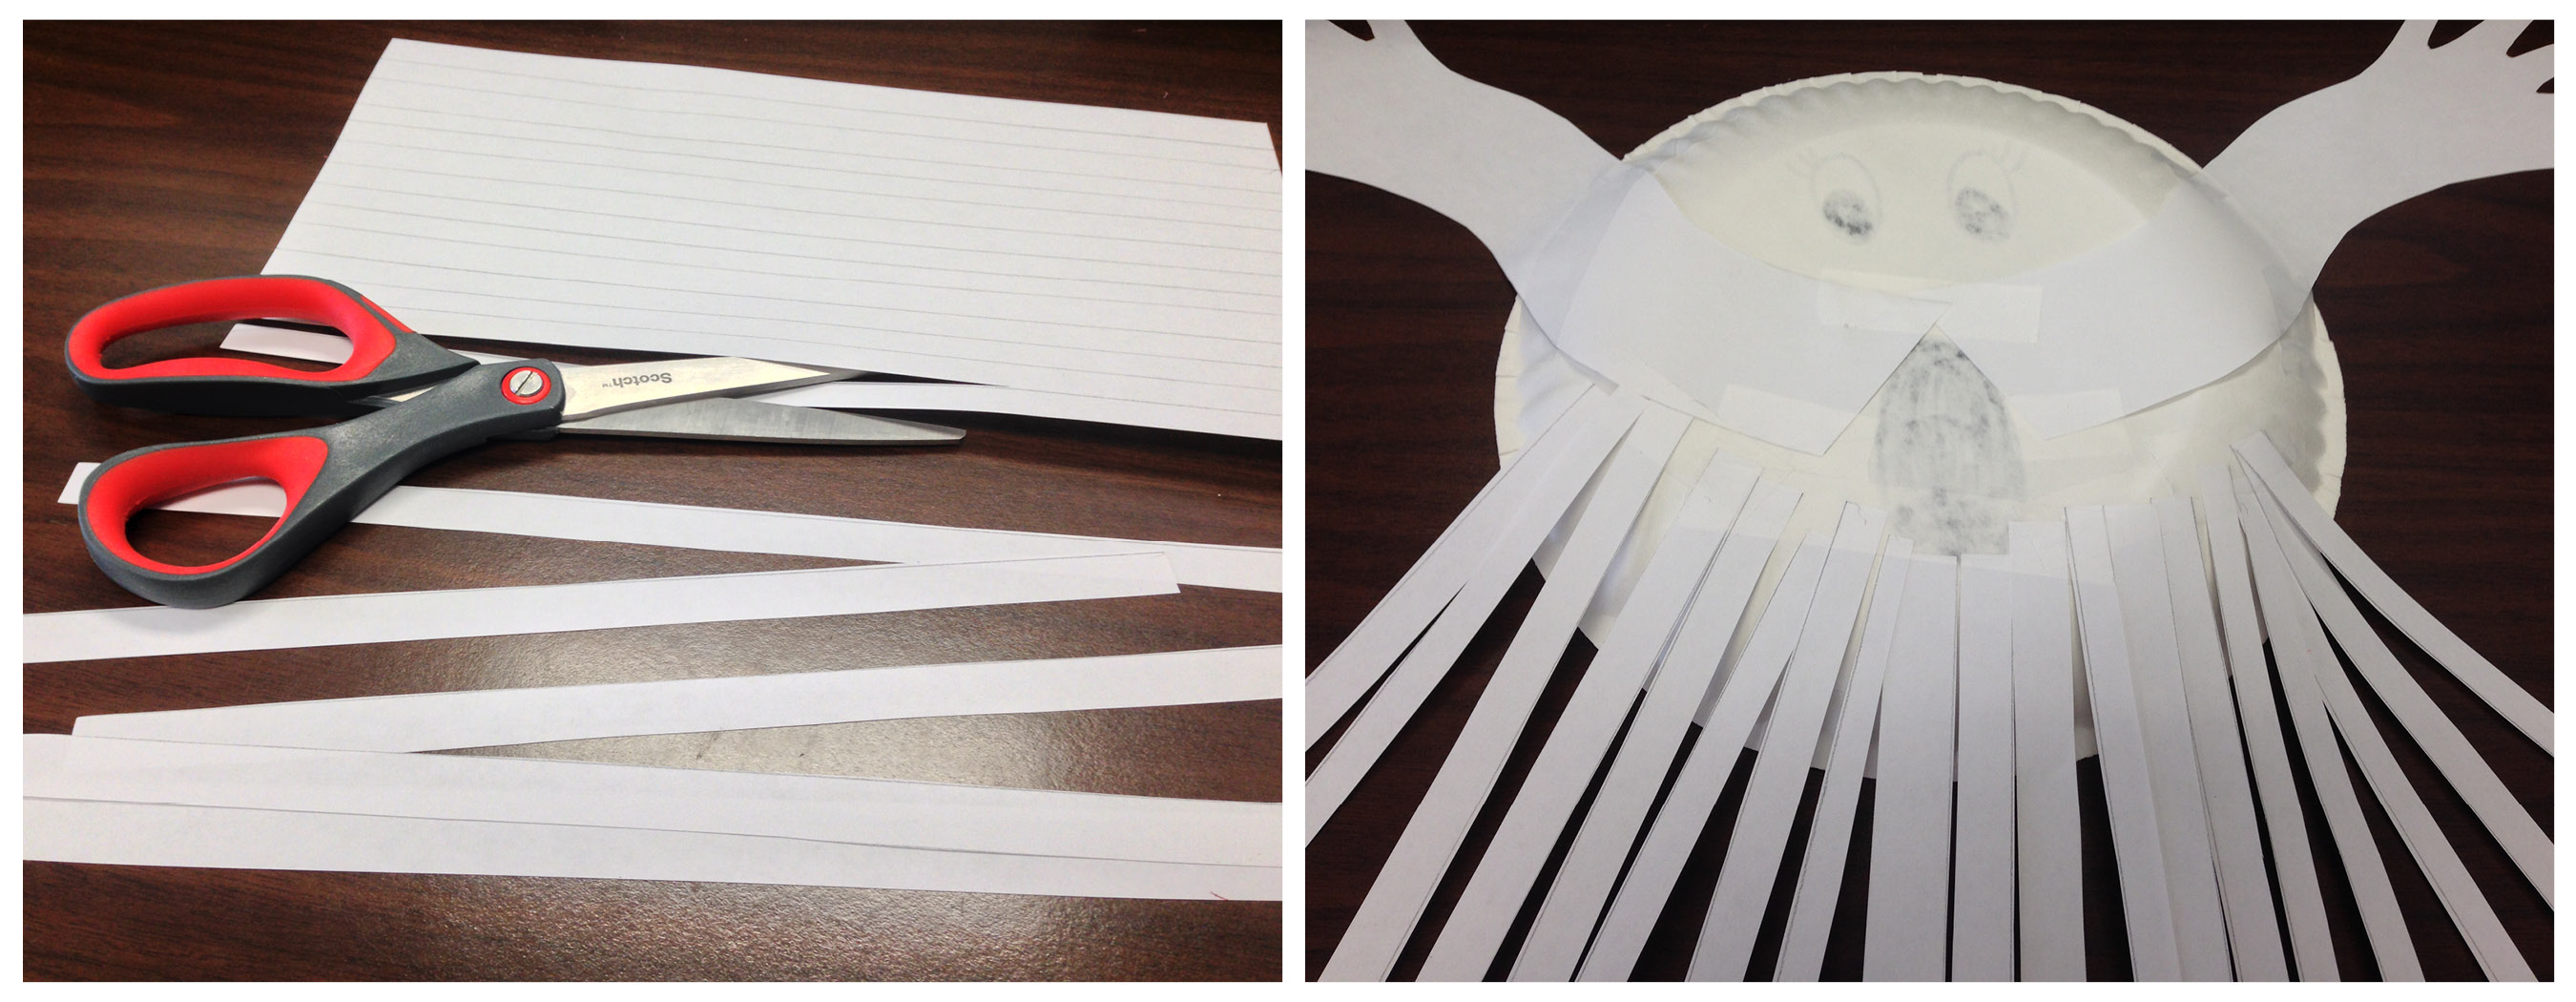
- Glue or tape the strips to the back of the plate and let dry.
- Attach a string or loop of yarn at the top of the plate by either gluing/taping to the back or stringing through a hole.
Your new ghost friend is ready to show off! Hang it in a window for your neighbors and trick-or-treaters to see. We were inspired by this.
Candy Corn Banner
Candy corn is probably the most well-known, iconic candy of Halloween. In fact, the haunted holiday is responsible for about 75 percent of annual candy corn production. Though the candy now comes in various colors for other holidays, the orange, yellow, and white combo will always be the classic. Try making a candy-corn-inspired banner like this one!
Materials:
paper plates, scissors, ribbon or string, yellow and orange craft paint, markers, or crayons, paint brushes if using paint, hole puncher.
Directions:
- Place your paper plate facing up in front of you. With your yellow paint, marker, or crayon, draw a circle about 2.5 inches wide in the middle of your plate (doesn’t have to be exact). Once you have that empty circle, draw a bigger circle around that. Your plate should now have two yellow circles with white middles, which creates three areas like a bulls-eye target: the center circle, the middle ring, and the outer ring.
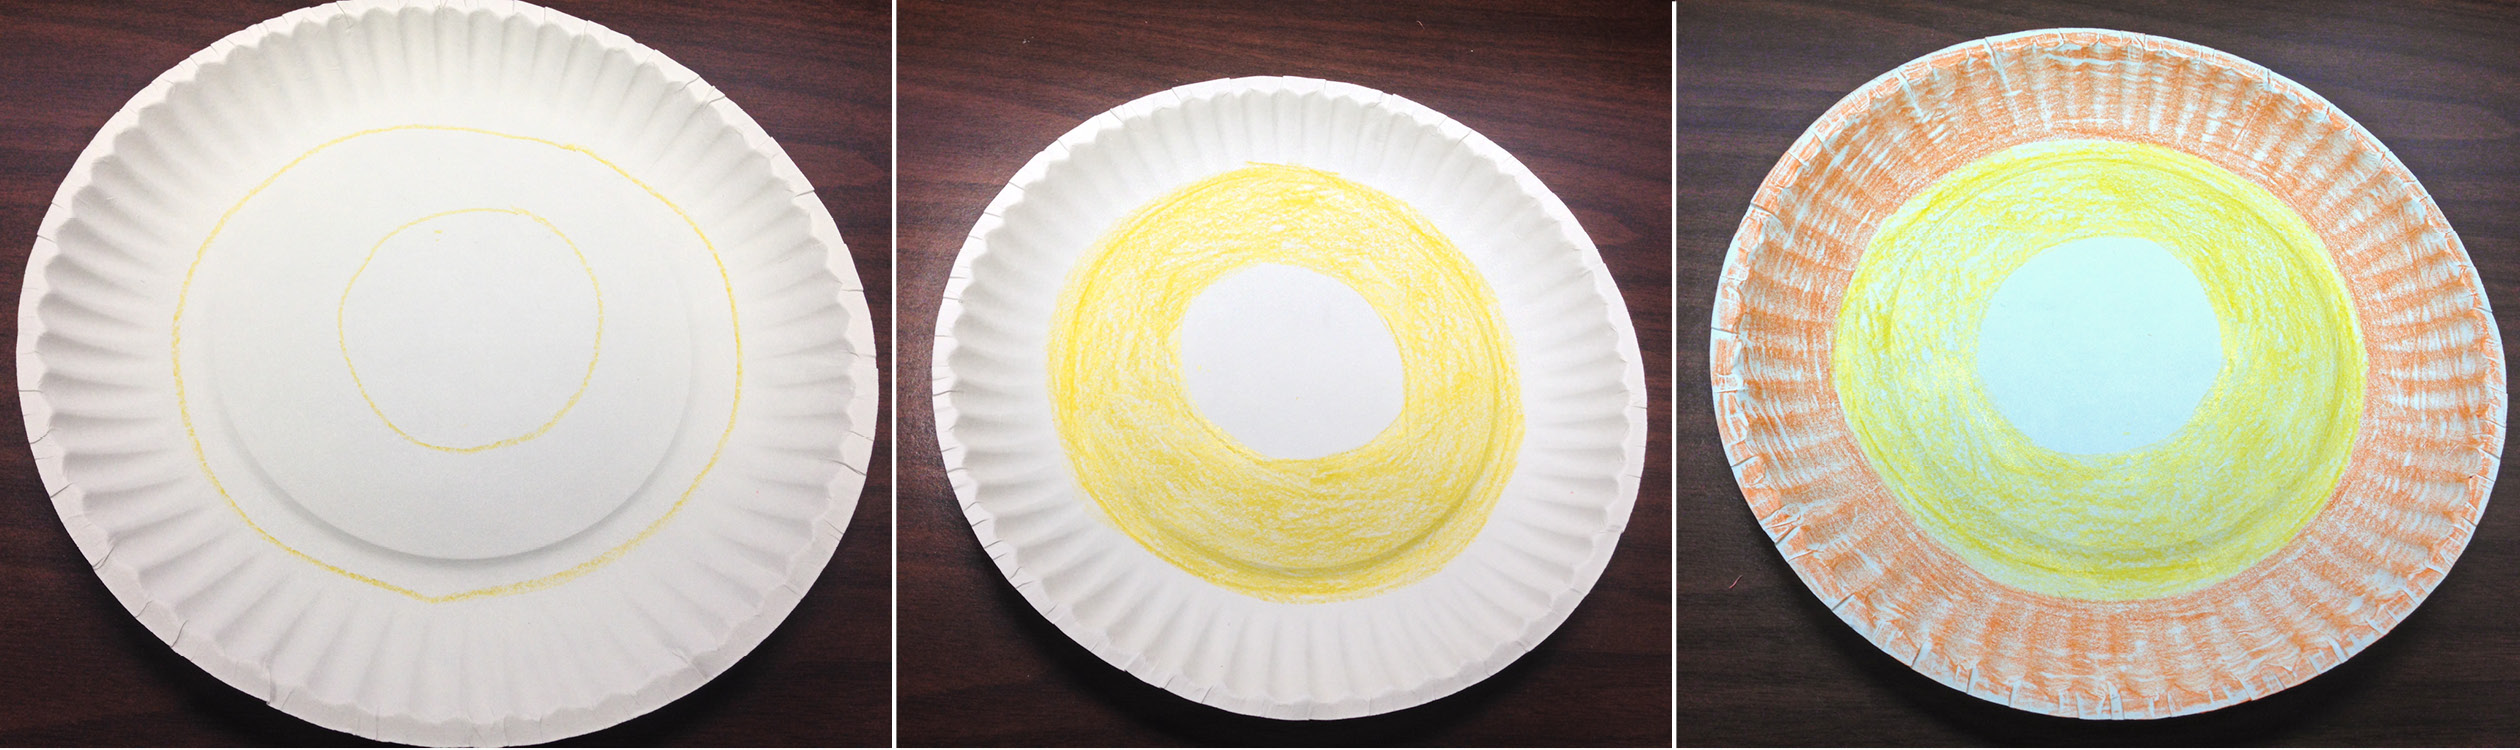
- Still using your yellow coloring tool, fill in the middle ring, leaving the center circle white.
- Grab your orange coloring tool and fill in the outer ring so it is completely orange. Your plate should look more like a target now.
- Take your scissors and cut your plate into eight slices like a pizza. You will now have eight triangular candy corn pieces!
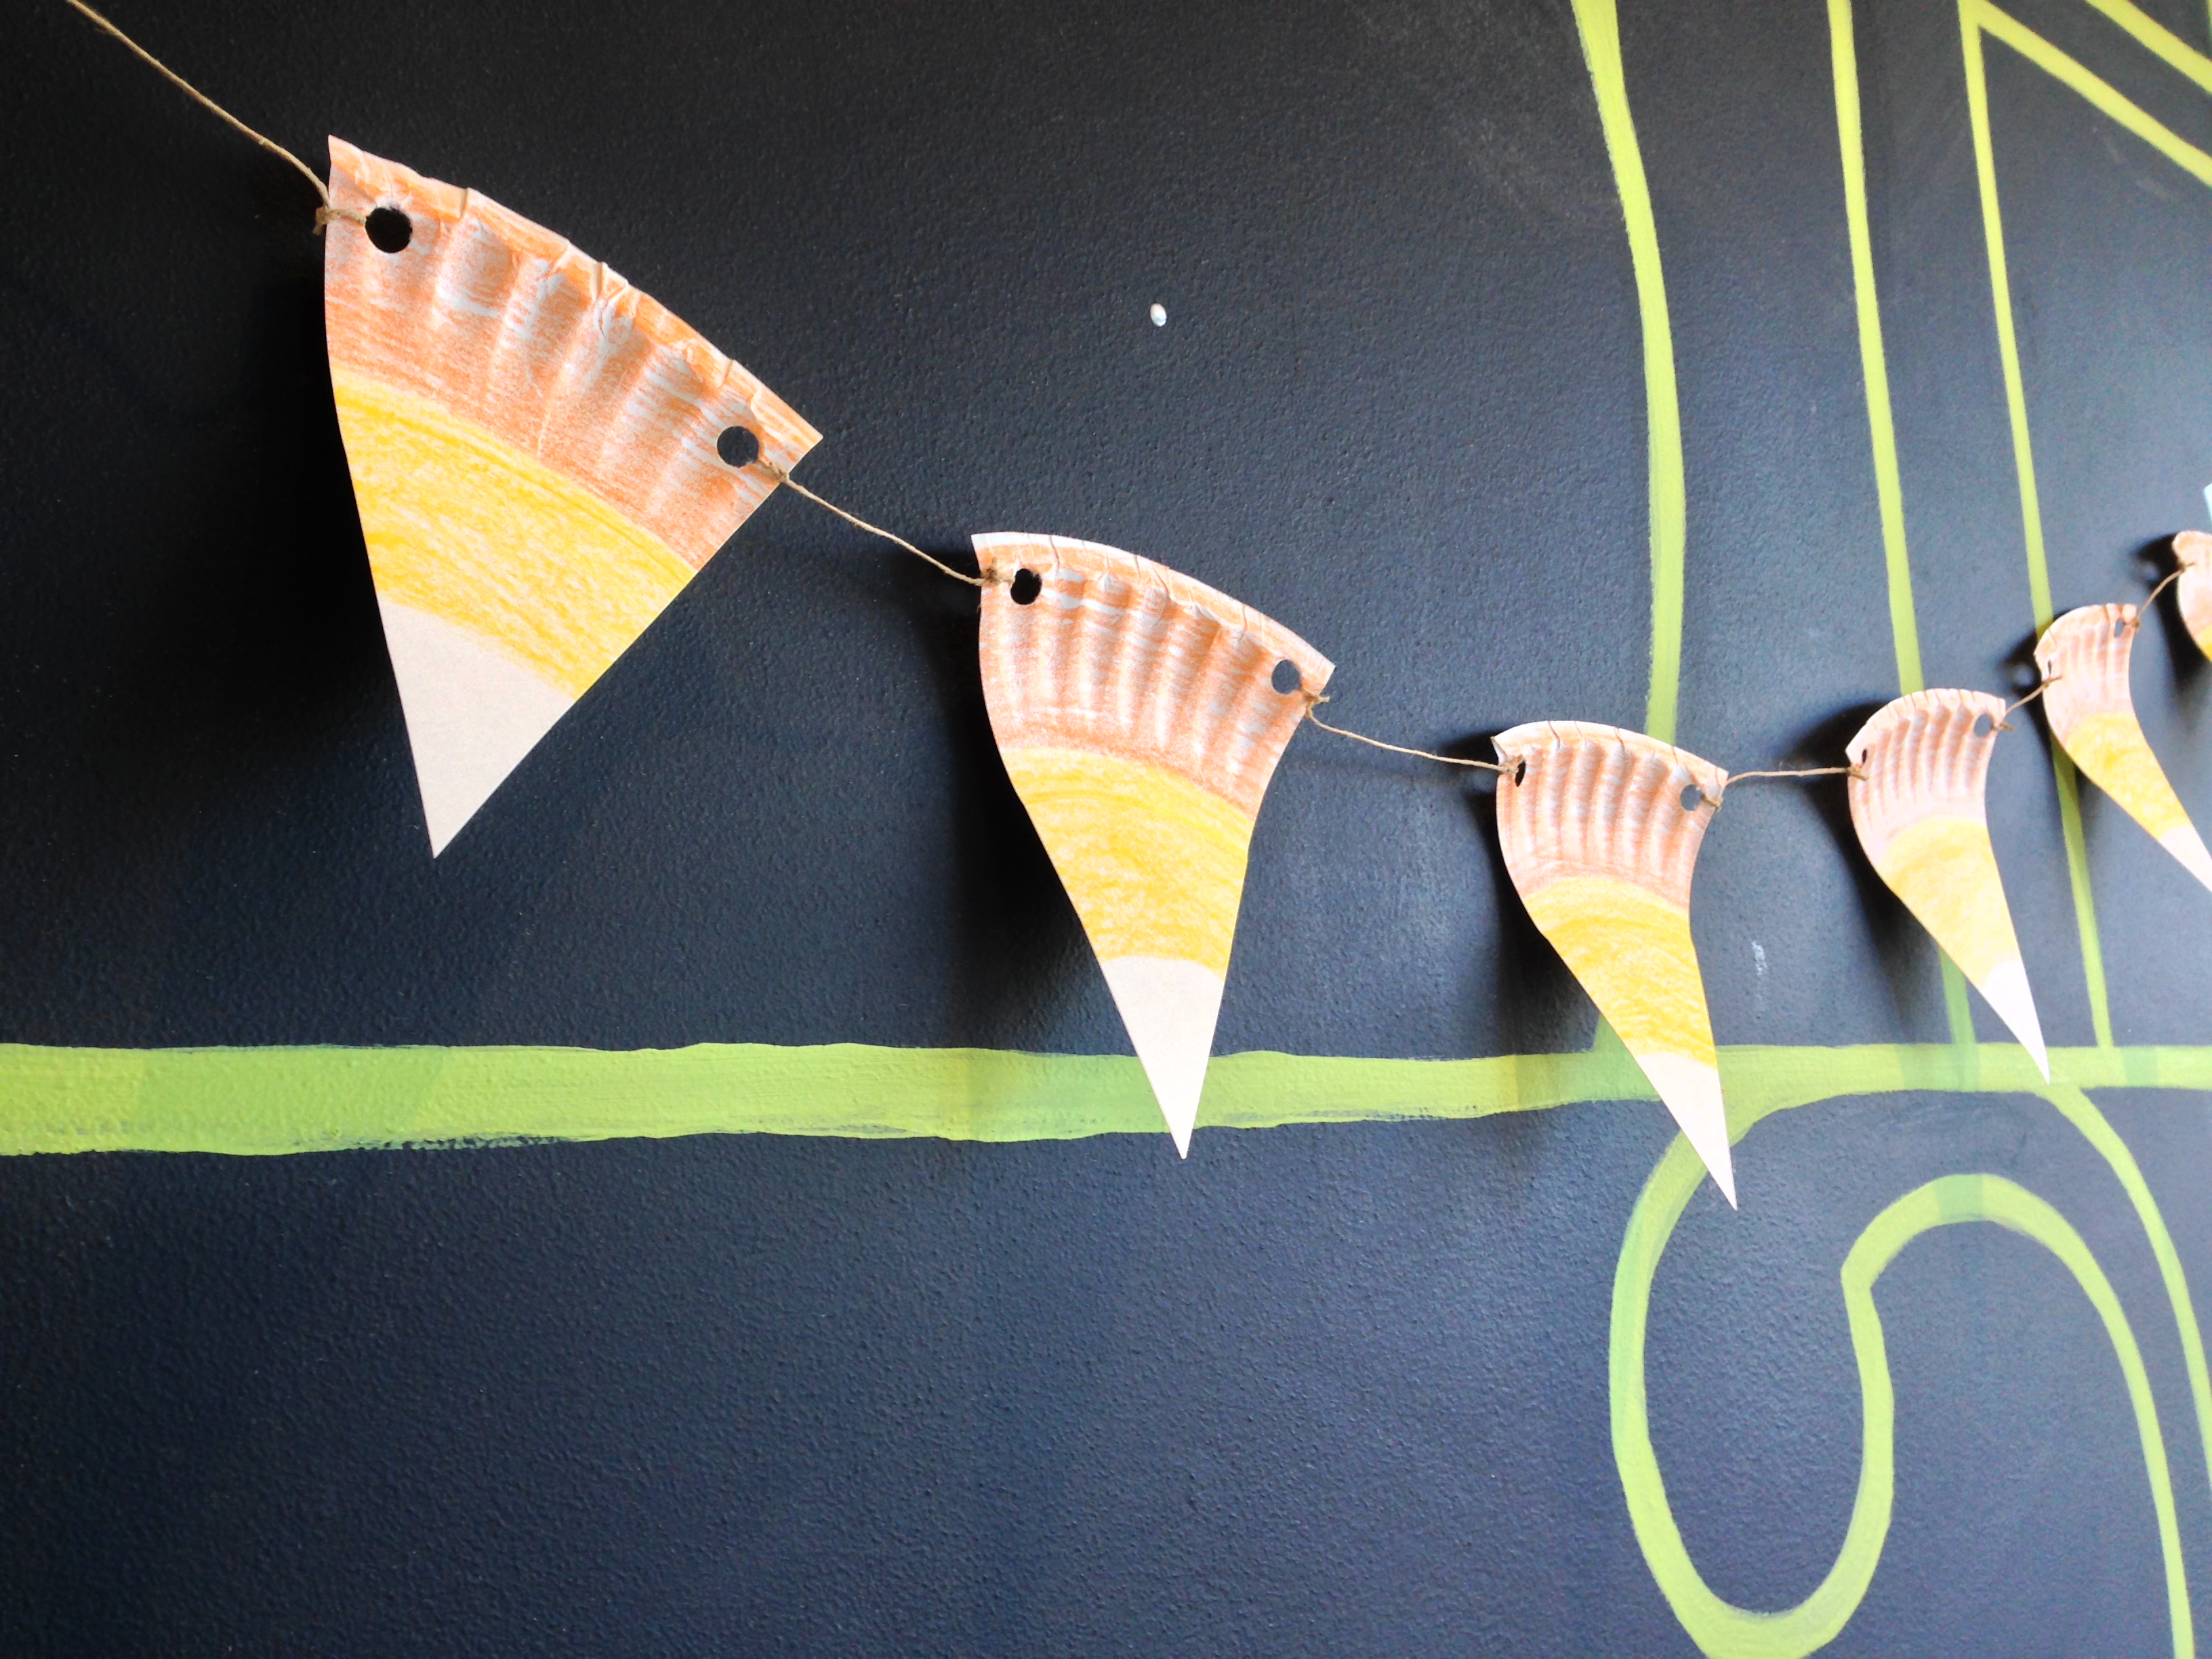
- Hold each triangle so that the orange, wide part is on the top. Using your hole puncher, create a hole in the top left and right corners of the triangle. Repeat for all candy corn pieces.
- Tie string or ribbon through the holes to connect your candy corns.
Once all of the candy corn pieces are strung together, you can it hang up over doorways, windows, or on walls. Add letters to each candy corn to display a hair-raising message! We were inspired by this.
Bonus DIY:
Now that you’ve set the scene, admire all your hard work while enjoying this simple treat—you won’t even need your cauldron for this recipe!
Dirt Ice Cream Cups
Have you ever heard of a dirt pudding cup? Well, we have our own spin on this Halloween treat: Dirt Ice Cream Cups! Make them at home or pick one up in our shop; we can customize them to your liking. Choose from our 32+ locally-sourced ice cream flavors—we recommend our seasonal flavors: Dutch Apple or Pumpkin Oreo—to top with crushed Oreos and gummy bears or worms.
And don’t forget, take a picture of your creation, Halloween crafts, or anything else from our shop and submit it to our Monthly Photo Contest on Twitter or Instagram using the hashtag #ChillonPark. You could win a free ice cream sundae!
You must be logged in to leave a reply.